
Hey everyone! So, I’ve been thinking about my water heater lately. It’s one of those things you just don’t think about until it’s not working, right? Turns out, giving it a good flush every now and then is super important for keeping it running well and saving some cash on energy bills. It sounds a bit intimidating, but honestly, it’s a pretty simple job most of us can handle ourselves. We’re going to break down why it matters and exactly how to do it safely, so you can keep that hot water flowing without any fuss.
Key Takeaways
- Flushing your water heater removes sediment that builds up over time, which can make it less efficient and shorten its life.
- Before you start flushing, always turn off the power or gas to the water heater and shut off the cold water supply.
- Connect a garden hose to the drain valve and direct it to a safe spot to drain the tank, being careful as the water can be very hot.
- After draining, briefly turn on the cold water supply to stir up and flush out any remaining sediment until the water runs clear.
- Regularly flushing your water heater, typically every six to twelve months, helps maintain performance, reduce energy costs, and prevent potential problems like strange noises or discolored water.
Understanding Why Flushing Your Water Heater Matters
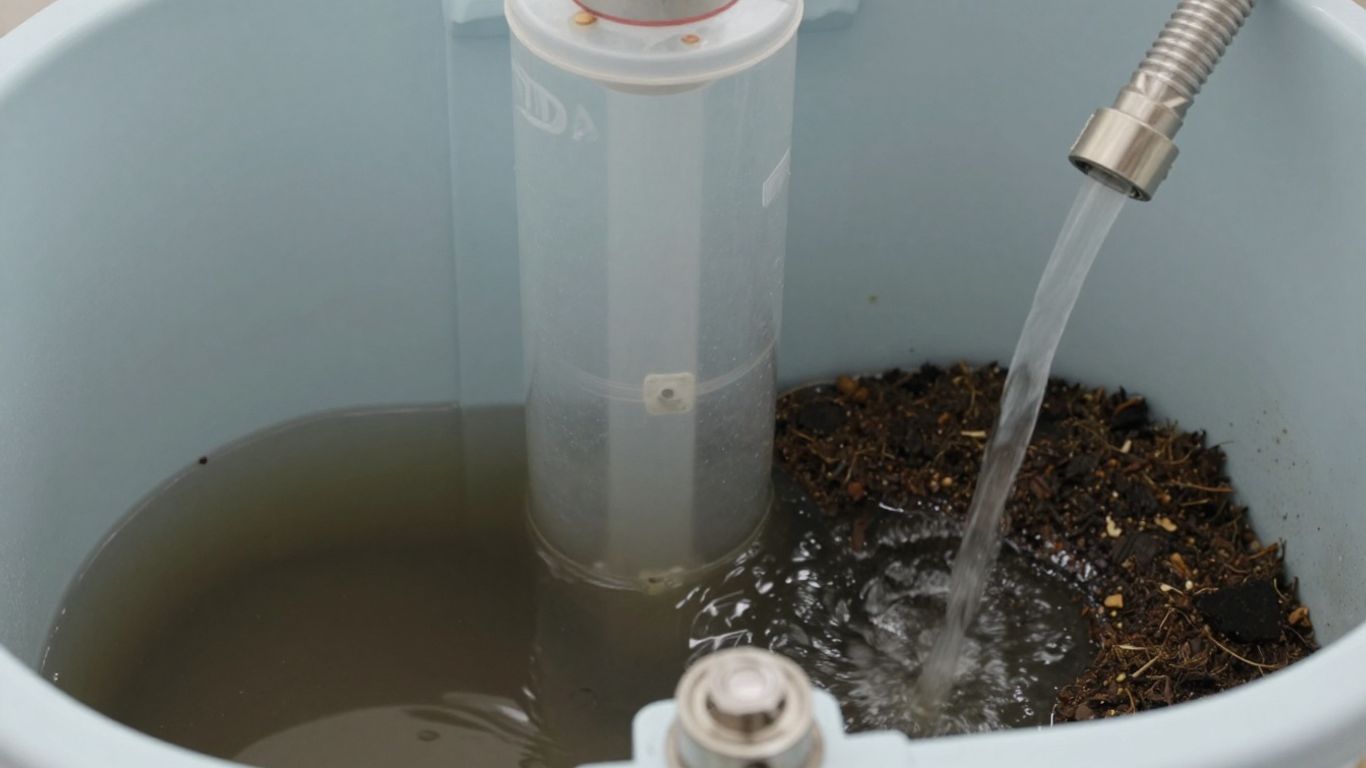
So, you’ve got hot water, great! But have you ever stopped to think about what’s actually going on inside that tank? Over time, minerals and other bits from your water settle at the bottom. Think of it like a slow-motion accumulation of gunk. This isn’t just unsightly; it actually causes problems.
The Impact of Sediment Buildup
This layer of sediment at the bottom of your tank is the main culprit. It acts like an insulator, making your water heater work harder and longer to heat the water. This means more energy used, which translates directly to higher utility bills. Plus, that extra strain can shorten the lifespan of your appliance. Ignoring sediment buildup is like driving your car without ever changing the oil – eventually, something’s going to break. It can also lead to uneven heating, strange noises like popping or rumbling, and even discolored water.
Benefits of Regular Flushing
Flushing your water heater is a pretty simple maintenance task that makes a big difference. It’s the best way to get rid of that sediment. When you flush it out, you’re helping your heater run more efficiently, which saves you money on energy costs. It also helps prevent damage, meaning your water heater could last longer. Think of it as a spa day for your water heater – it just feels better and works better afterward.
Signs Your Water Heater Needs Attention
How do you know if it’s time for a flush? Keep an eye out for these common signs:
- Reduced hot water supply: You’re running out of hot water faster than usual.
- Strange noises: Popping, rumbling, or banging sounds coming from the tank.
- Discolored water: Water coming out of your taps looks rusty or cloudy.
- Higher energy bills: Your utility costs have gone up without any change in usage.
- Takes longer to heat water: The water just doesn’t seem to get as hot, or it takes ages to heat up.
If you’re noticing any of these, it’s probably a good time to consider flushing the tank. It’s a task that can often be done yourself, saving you a service call. For those looking to understand their options for heating water, considering different types of heaters is also part of good maintenance, like looking into tankless water heaters.
Sediment isn’t just an aesthetic issue; it’s a performance and longevity issue for your water heater. Regularly removing it is a proactive step that pays off in efficiency and extends the life of your appliance.
Preparing for a Safe Water Heater Flush
Alright, so you’ve decided to tackle flushing your water heater. That’s a smart move for keeping it running well and saving a bit on energy bills. But before you even think about turning a valve, we need to talk about safety. Messing with water heaters, especially when hot water is involved, means you’ve got to be careful. It’s not super complicated, but a little preparation goes a long way to avoid any unpleasant surprises.
Prioritizing Safety Precautions
Safety is the absolute first thing on the list. You’re dealing with electricity or gas, and potentially very hot water. So, let’s make sure we’re not creating a bigger problem than we’re solving. Think of it like getting ready for any DIY project – you wouldn’t start building a shelf without clearing the space and having your tools, right? Same idea here.
Here are the key safety steps:
- Turn off the power or gas supply. For electric heaters, this means flipping the breaker in your electrical panel. For gas models, you’ll want to turn the gas control valve to the ‘pilot’ or ‘off’ setting. It’s a good idea to do this a few hours before you plan to drain the tank, if possible, to let the water cool down a bit. If not, just be extra cautious.
- Shut off the cold water supply. Find the valve on the pipe that brings cold water into the tank, usually near the top. Turn it off completely. This stops more water from rushing in while you’re trying to drain it.
- Prepare your workspace. Make sure the area around the water heater is clear. You’ll need space to work, and you don’t want anything flammable or easily damaged near where hot water might splash.
Remember, if you’re ever unsure about any step, especially when it comes to gas or electrical connections, it’s always better to stop and call a professional. Your safety is worth more than a few dollars saved.
Shutting Off Power and Water Supply
This is the critical first step. You absolutely need to cut off the energy source before you do anything else. For electric water heaters, locate the dedicated circuit breaker in your home’s electrical panel and switch it off. If you have a gas water heater, look for the gas control valve on the unit itself. It usually has settings like ‘On,’ ‘Pilot,’ and ‘Off.’ Turn this valve to the ‘Pilot’ or ‘Off’ position. This stops the heating element or burner from firing up while the tank is empty or partially empty, which could cause serious damage. After cutting the power or gas, find the cold water inlet valve, typically on the top of the tank, and close it tightly. This prevents new water from entering the tank during the draining process.
Setting Up Your Workspace
Before you open that drain valve, let’s get the area ready. You’ll need a garden hose that fits snugly onto the drain valve at the bottom of your water heater. Make sure the other end of the hose is placed somewhere safe where the hot water can drain without causing damage or a mess. This could be a floor drain, a large bucket, or even outside if your water heater is located near an exterior wall. Having a hose helps control the water flow and directs it away from you and your home. It’s also a good idea to have some old towels or rags handy for any minor drips or spills. If you have a tankless water heater, the setup might be a bit different, and you might want to check out resources on tankless water heater maintenance to see if it’s a DIY job for your specific model.
The Step-by-Step Process for Flushing Your Water Heater
Alright, let’s get down to business. Flushing your water heater might sound a bit intimidating, but honestly, it’s a pretty straightforward process once you break it down. Think of it like giving your water heater a much-needed spa day to clear out all that gunk that’s been building up. The key is to take your time and follow these steps carefully to stay safe and get the job done right.
Attaching the Drain Hose
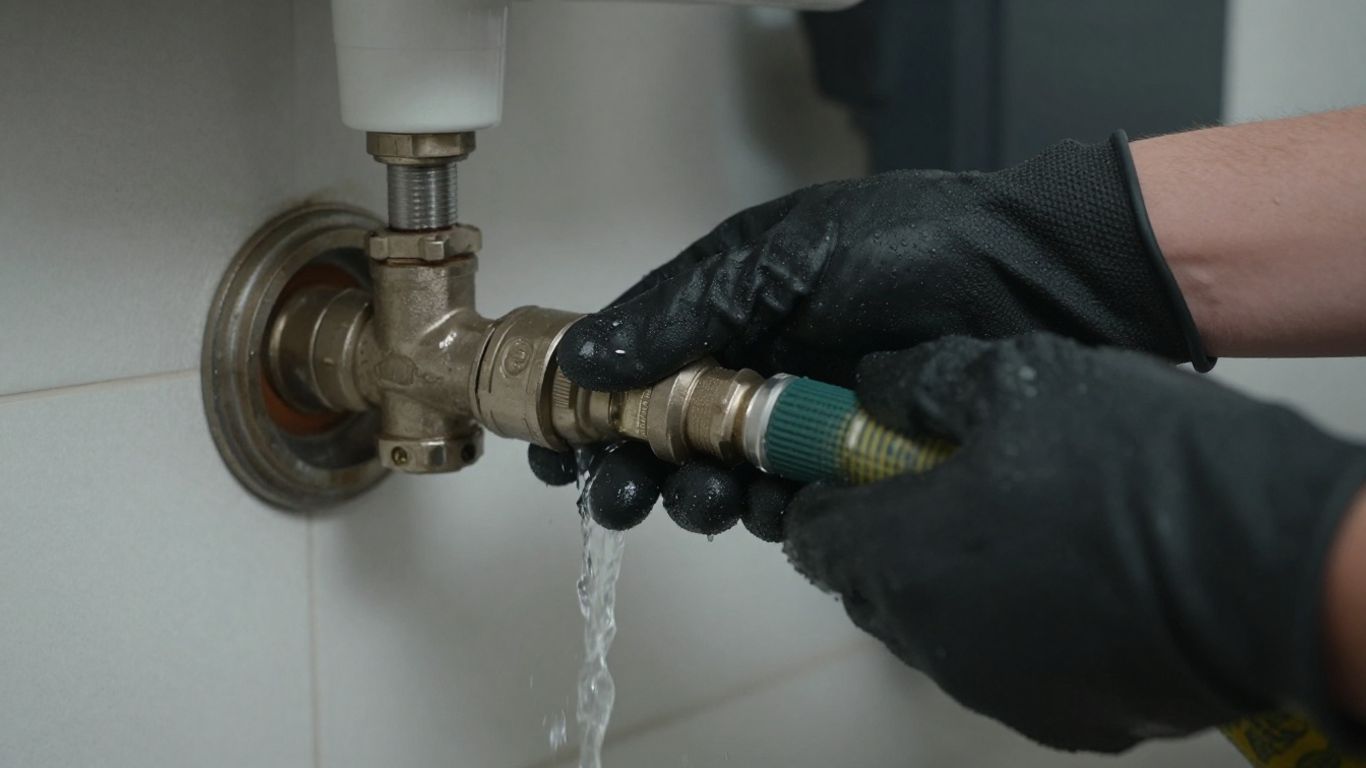
First things first, you need a way to get that murky water out of the tank. Grab a standard garden hose – the kind you use for watering plants will work just fine. Screw one end onto the drain valve located at the very bottom of your water heater. Make sure it’s snug so you don’t have any leaks later. Now, the other end of the hose needs to go somewhere safe. You can run it to a floor drain if you have one nearby, or just direct it outside if that’s easier. If you’re worried about a mess, a large bucket can also work, but you’ll be emptying it a lot.
Draining the Tank
With the hose all set up, it’s time to let the water out. Before you open that drain valve, though, make sure you’ve turned off the power to your water heater (either at the breaker box for electric or the gas valve for gas models) and shut off the cold water supply valve. This stops more water from coming in and prevents any electrical hazards. Now, carefully open the drain valve. Be warned, that water might still be pretty hot, so give it some space. You’ll probably see some cloudy water and maybe even some flakes come out – that’s the sediment we’re trying to get rid of. Let it drain until the flow slows to a trickle.
Flushing Out Remaining Sediment
Once the tank is mostly empty, it’s time for the actual
Completing the Water Heater Flush
Alright, you’ve done the hard part – draining out all that gunk. Now it’s time to get your water heater back in business. This is where we wrap things up and make sure everything is good to go.
Closing the Drain Valve
First things first, you need to shut off that drain valve you’ve had open. If you attached a hose, disconnect it now. Make sure the valve is closed tightly. You don’t want any surprise leaks later on.
Refilling the Water Heater Tank
Now, let’s get some fresh water back into the tank. Slowly turn the cold water supply valve back on. You should hear the tank starting to fill up. It’s a good idea to open a hot water faucet somewhere in your house, like the kitchen sink or a bathtub. This helps let air escape the tank as it fills, preventing any weird noises or air pockets. Keep the faucet running until a steady stream of water comes out, meaning the tank is full and all the air is out. This step is super important to avoid damaging the heating element if you have an electric water heater.
Restoring Power and Checking for Leaks
Once the tank is completely full, you can turn the power back on. For electric models, flip the circuit breaker back on. If you have a gas water heater, relight the pilot light or turn the gas valve back to its ‘on’ position. Give the water heater some time to heat the water up. While it’s doing its thing, keep an eye out around the drain valve and any other connections you might have touched. Look for any drips or signs of leaks. If everything looks dry and you start hearing the normal sounds of your water heater working, you’ve successfully completed the flush!
Remember, a little bit of patience goes a long way here. Rushing the refilling process can lead to air in the system or, worse, damage to your water heater. Take your time and double-check your work.
Optimizing Your Water Heater Maintenance Schedule
So, you’ve learned how to flush your water heater, which is great! But when should you actually be doing this? Setting up a regular maintenance schedule is key to keeping your water heater running smoothly and preventing those annoying breakdowns. It’s not a super complicated thing to figure out, but there are a few things to consider.
Recommended Flushing Frequency
For most homes, flushing your water heater about once every six months to a year is a good target. Think of it like changing the oil in your car – you don’t wait until the engine seizes up, right? Doing it more often, say every six months, is usually better if you have hard water or if your water heater is getting on in years. If you have softer water and a newer unit, once a year might be perfectly fine.
Factors Influencing Maintenance Needs
Several things can affect how often you should be flushing:
- Water Quality: If your tap water has a lot of minerals (hard water), sediment builds up faster. You’ll notice this if you see white crusty stuff around your faucets or if your dishwasher isn’t cleaning well.
- Water Heater Age: Older water heaters tend to accumulate sediment more quickly. They might also be more prone to issues if not maintained.
- Usage Patterns: If you have a large family with high hot water demand, or if you’ve recently had plumbing work done that might have stirred up sediment in the lines, you might need to flush more often.
- Type of Water Heater: While this guide focuses on standard tank heaters, tankless or other types might have different maintenance needs.
The Time Commitment Involved
Honestly, the actual flushing process usually takes about 30 minutes to an hour, depending on how much sediment you have and how easily the water drains. It’s not a huge time sink, especially when you consider the potential cost of a repair or replacement if you neglect it. Plus, doing it yourself saves you money on a service call.
Flushing your water heater is a small task that pays off big time. It helps your heater last longer, use less energy, and consistently give you the hot water you need without weird noises or smells. It’s one of those simple home maintenance jobs that really makes a difference.
Setting a reminder on your phone or marking it on a calendar can help you stay on track. You could even do it during a time of year when you know you’ll use less hot water, like spring or fall, to make the process even smoother.
When to Seek Professional Assistance
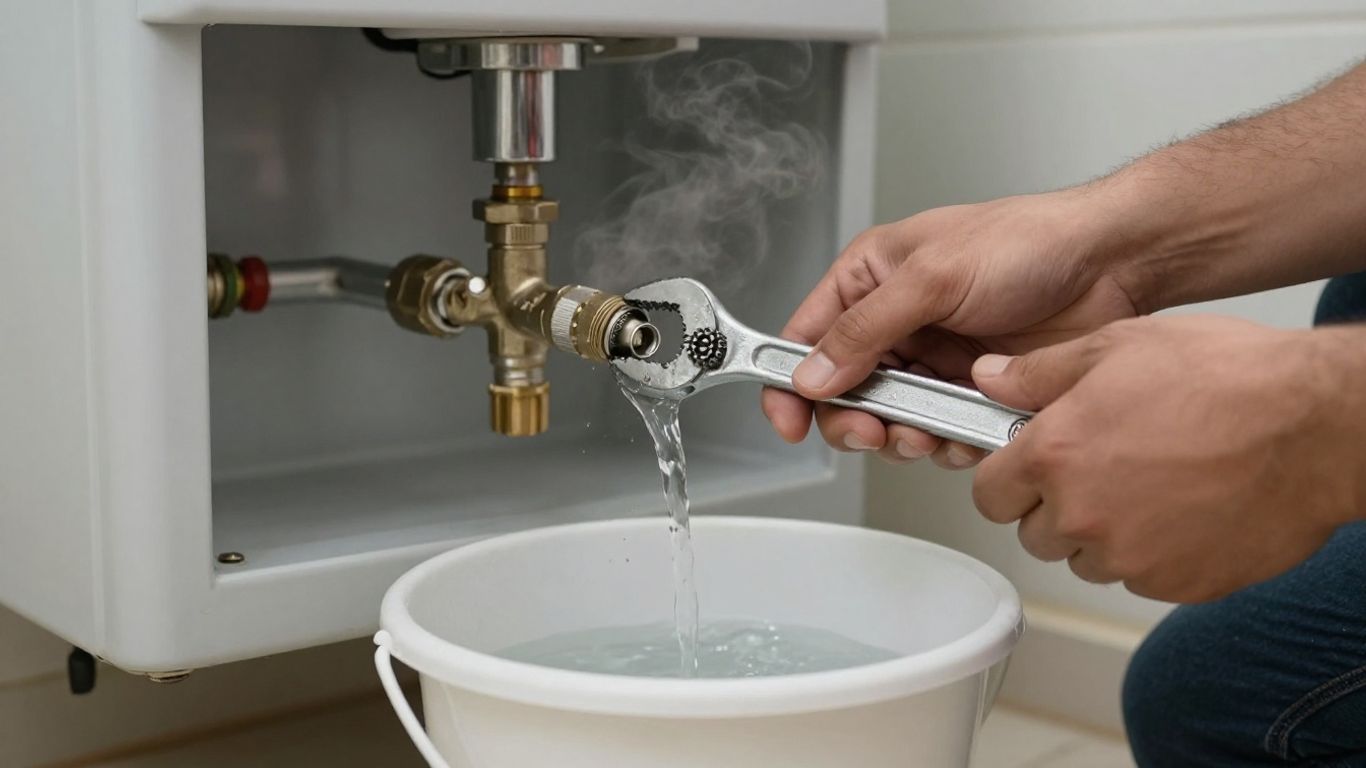
While flushing your water heater is often a manageable DIY task, there are definitely times when it’s best to call in the pros. Trying to tackle something beyond your comfort level or skill set can sometimes lead to more problems than it solves, and nobody wants that. It’s all about knowing your limits and when to get a little help.
Complex Water Heater Types
Not all water heaters are created equal. If you have a tankless water heater, a high-efficiency model, or a unit that uses a more complicated venting system, the flushing process can be quite different and more involved than with a standard tank model. These systems often have specific maintenance requirements that might not be covered in a general guide. For these types of units, it’s usually a good idea to consult your owner’s manual or have a qualified technician perform the flush. They have the specialized tools and knowledge to handle these advanced systems without causing damage. For standard tank water heaters, drain them at least once a year. If you have hard water or notice sediment, increase the frequency to every 4-6 months [5de7].
Identifying Persistent Issues
Sometimes, even after you’ve tried flushing your water heater, you might still notice problems. Maybe the water isn’t getting as hot as it used to, or perhaps you’re hearing strange noises coming from the tank. If you’ve gone through the flushing steps and the issues remain, it could indicate a deeper problem that requires professional diagnosis. This could be anything from a failing heating element to a more serious internal component issue. Don’t keep trying to fix it yourself if the core problem isn’t sediment. If you encounter issues like a stuck drain valve or persistently cloudy water when attempting to flush your water heater, it’s advisable to seek assistance from a professional [cd4c].
Scheduling Professional Maintenance
Beyond just flushing, regular professional check-ups can catch potential problems before they become major headaches. A technician can inspect the anode rod, check for corrosion, and ensure all safety mechanisms are working correctly. If you’re unsure about any part of the maintenance process, or if your water heater is older and you’re concerned about its condition, scheduling a professional service is a smart move. It provides peace of mind knowing that your system is in good working order and helps prevent unexpected breakdowns. Think of it as a tune-up for your water heater, keeping it running smoothly and efficiently for years to come.
If you’re facing a plumbing problem that seems too big or complicated to handle yourself, don’t hesitate to call in the experts. Sometimes, a quick fix isn’t enough, and you need someone with the right tools and know-how. For reliable help with any plumbing issue, visit our website to learn more about our services and schedule an appointment.
Wrapping Up
So, there you have it. Flushing your water heater might seem like a chore, but it’s really not that bad once you get the hang of it. Doing this a couple of times a year can really make a difference in how well your heater works and how long it lasts. Plus, you might even save a bit on your energy bills. If you’re not comfortable doing it yourself, or if you run into any weird issues, don’t hesitate to call in a pro. Taking care of your water heater is just one of those things that keeps your home running smoothly.
Frequently Asked Questions
Why do I need to flush my water heater?
Flushing your water heater helps remove built-up gunk and minerals from the bottom of the tank. This gunk makes your heater work harder, uses more energy, and can even make it break down faster. Cleaning it out keeps your water hot and saves you money on bills.
How often should I flush my water heater?
It’s a good idea to flush your water heater about once or twice a year. If you have really hard water, meaning lots of minerals, you might need to do it more often, maybe every six months. It’s a simple way to keep things running smoothly.
What are the signs my water heater needs flushing?
Watch out for a few things! If your hot water smells funny, or if it’s not as hot as it used to be, that’s a clue. Strange noises like rumbling or popping coming from the tank are also big signs. Even rusty-colored hot water means it’s time for a flush.
Is flushing a water heater dangerous?
It can be if you’re not careful! The water inside can be very hot, so always turn off the power and the water supply before you start. If you’re unsure or uncomfortable, it’s always best to call a professional plumber.
How long does it take to flush a water heater?
The whole process usually takes around 30 minutes to an hour. You’ll spend some time draining the tank, a little time flushing it, and then refilling and turning it back on. It’s a pretty quick maintenance task.
What if I have a tankless water heater?
Tankless water heaters don’t have a tank to collect sediment, but they still need cleaning. The process is a bit different and can be more complicated, often involving special cleaning solutions. For tankless systems, it’s usually best to get a professional to do the flushing.