
Key Takeaways
Well-planned plumbing installations protect a building from leaks, drainage problems, and expensive rework. The right design also makes future maintenance much easier.
- Define water, drainage, fixture, and equipment needs before work begins.
- Coordinate plumbing routes with framing, electrical systems, and finishes.
- Use approved materials and follow local permit and inspection requirements.
- Compare project-specific quotes rather than choosing on price alone.
- Test the finished system carefully before walls and ceilings are closed.
Understanding plumbing installations
Plumbing installations bring together the pipes, valves, fixtures, and equipment that deliver water and carry wastewater away. A successful system must work reliably while remaining accessible for repairs. The scope can be as small as replacing a fixture or as broad as fitting an entire new building. Clear planning is what keeps the work orderly.
What a plumbing installation includes
A typical installation may include cold-water supply lines, hot-water piping, drain-waste-vent piping, shutoff valves, faucets, toilets, showers, sinks, and a water heater. Larger projects can also include pumps, filtration equipment, sewage ejectors, or specialized commercial fixtures. The plumber should document where each line runs and how each component can be isolated or serviced.
New construction versus replacement projects
New construction allows the plumbing layout to be designed alongside the architectural plans, so pipe routes and fixture locations can be coordinated early. Replacement work is less predictable because existing lines may be concealed, undersized, corroded, or installed in ways that do not match current expectations. Opening walls or floors can reveal additional work, so a replacement plan should include a reasonable contingency.
Residential and commercial plumbing requirements
Residential systems usually serve fewer fixtures and have shorter distribution runs, although large homes can still require careful pressure balancing. Commercial installations may involve higher demand, multiple occupants, grease waste, backflow protection, specialty equipment, and more complex inspections. A commercial plan should account for both daily use and periods of peak demand rather than treating the building like an oversized house. A useful overview of commercial project coordination is available through commercial plumbing installation guidance.
Common materials, fixtures, and connection types
Copper, PEX, PVC, CPVC, cast iron, and other approved materials may be suitable depending on location, temperature, pressure, and local code. Connections can be soldered, crimped, pressed, threaded, solvent-welded, or made with approved mechanical fittings. Matching the fitting to the pipe and application is essential; this plumbing and fittings guide provides a practical reference for material and connection choices.
Planning a plumbing installation project
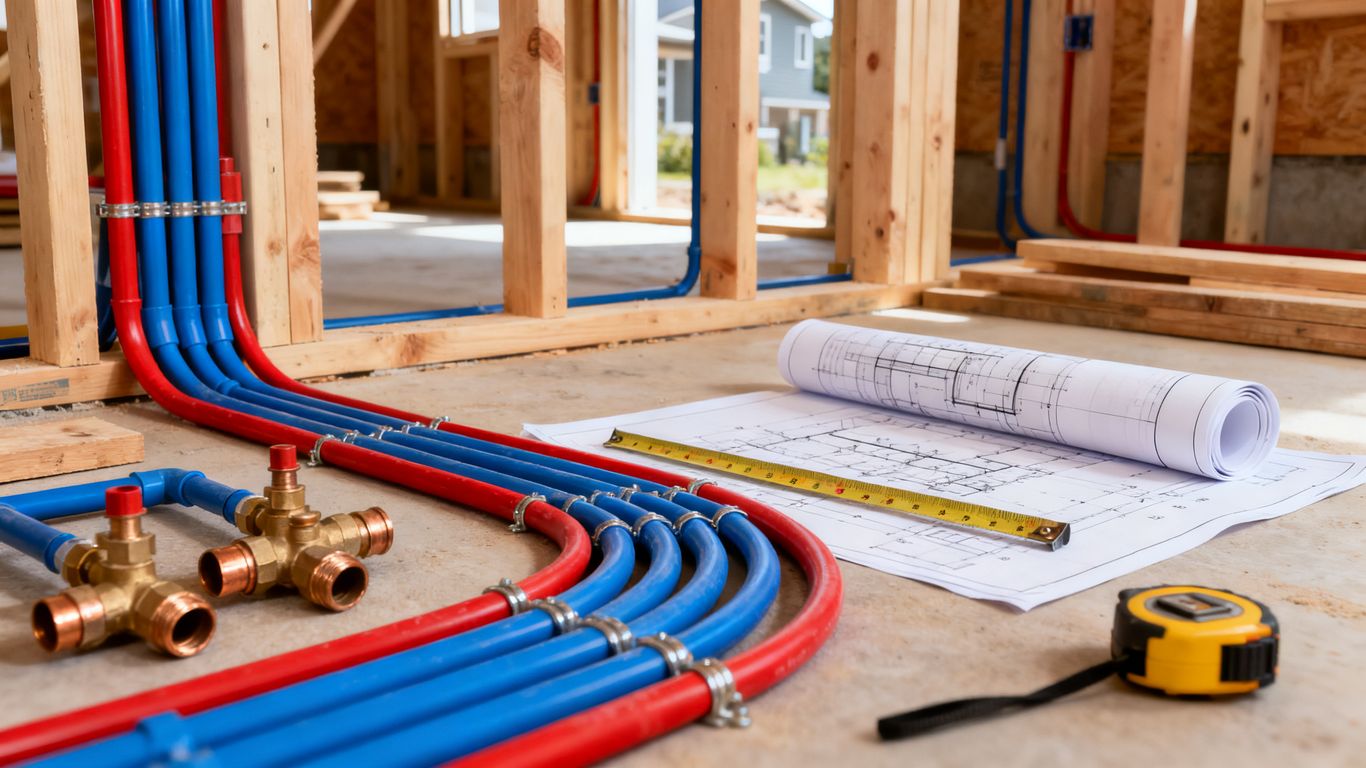
Planning begins with the building and the people who will use it, not with a shopping list of pipes. Count fixtures, consider simultaneous use, and identify where water enters and wastewater exits. Drawings, measurements, and early coordination reduce changes once construction has started. Even modest plumbing installations benefit from a written scope.
Assessing water supply and drainage needs
Start by recording fixture locations, expected occupancy, hot-water demand, water pressure, and the route to the public sewer or private treatment system. Drainage needs depend on pipe sizing, slope, venting, and the type of waste produced. If water quality is a concern, test the supply before selecting treatment equipment rather than assuming a filter or softener will solve every issue.
Creating a plumbing layout and installation plan
A good plan shows supply lines, drain lines, vents, cleanouts, valves, fixture centers, equipment clearances, and access panels. It should also identify pipe penetrations through framing and the sequence for rough-in and finish work. For a helpful step-by-step planning reference, see this residential plumbing installation overview, then adapt the general sequence to local requirements and the actual building.
Coordinating plumbing with electrical and structural work
Pipes should not conflict with beams, joists, ducts, wiring, or equipment supports. Coordinate openings before framing is closed, and keep required clearances around heaters, pumps, and service panels. When routes must cross, the trades should agree on elevations and protection methods instead of making unplanned field changes.
Choosing between DIY work and professional installation
A homeowner may be comfortable replacing a faucet or installing an accessible fixture, but concealed piping, gas connections, sewer work, and major rerouting carry greater risks. Local rules may also restrict who can perform or sign off on particular work. Consider professional help when the project affects structural surfaces, potable-water safety, drainage capacity, or required inspections. The safest decision is usually the one that leaves a documented, testable system.
Key components of a plumbing system
A plumbing system has two broad jobs: bring in usable water and remove wastewater safely. Between those points, pressure, temperature, flow, and air movement must remain controlled. Each component affects the others, so a fixture problem can sometimes originate in a valve, vent, or supply line farther away. Understanding the system makes troubleshooting less mysterious.
Supply lines and water pressure control
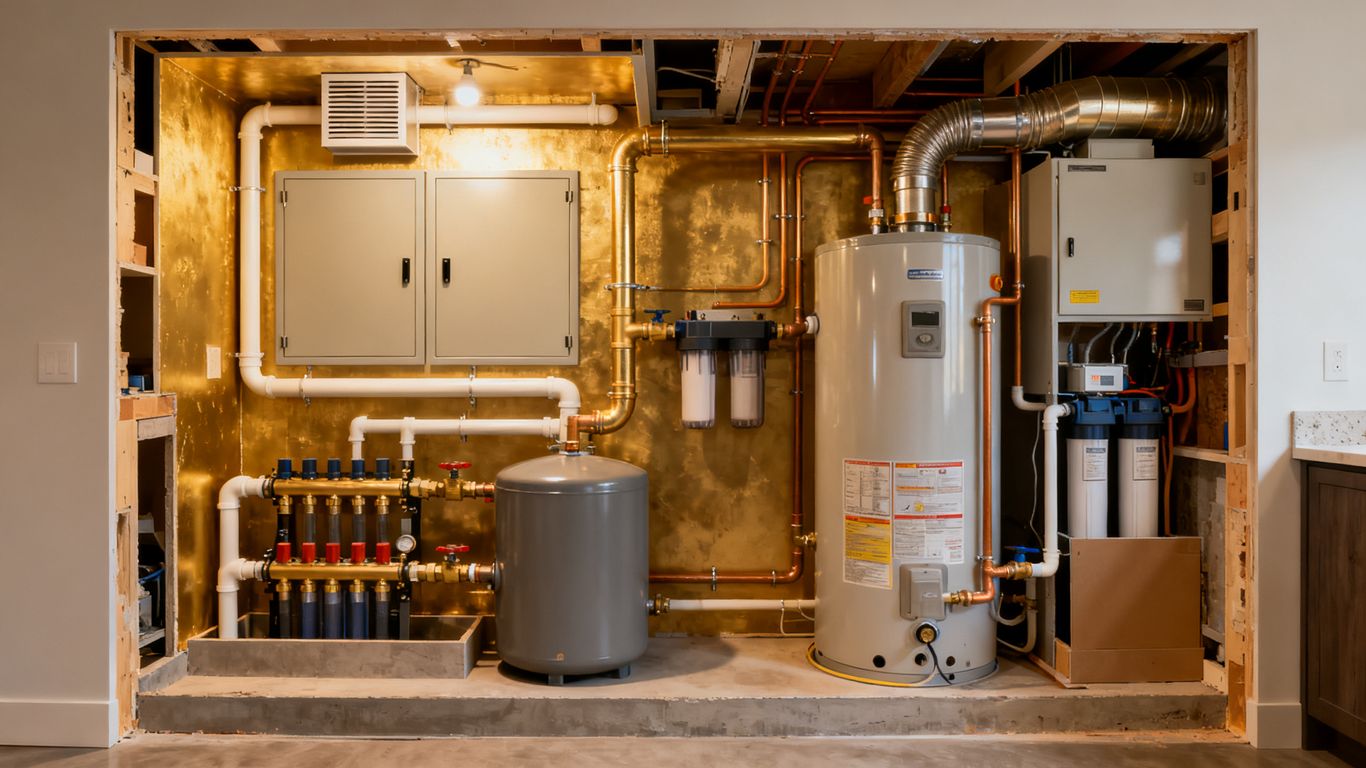
The main supply enters through a service connection and branches toward fixtures and water-heating equipment. Pressure-reducing valves, expansion tanks, supports, and isolation valves may be needed depending on the system. Excessive pressure can damage fixtures and connections, while insufficient pressure can make simultaneous use frustrating.
Drain, waste, and vent systems
Drain lines carry wastewater by gravity, while vents allow air into the drainage system and help protect trap seals. Correct slope, pipe sizing, cleanouts, and support all matter. A drain that appears to work during a quick test may still perform poorly if the venting or slope is wrong.
Water heaters, pumps, and filtration equipment
Water heaters need correctly sized supply and discharge connections, temperature and pressure protection, drainage provisions, and suitable service clearance. Pumps may support circulation, pressure, or wastewater removal. Filtration and softening equipment should be selected from actual water conditions and installed with bypass and maintenance access where appropriate.
Fixtures, shutoff valves, and access points
Fixtures are the visible part of the system, but their shutoff valves and access points determine how easily the hidden parts can be maintained. Place valves where they can be reached without demolition, and provide cleanouts at practical locations. A small amount of accessibility planning can prevent a much larger repair later.
Plumbing installation codes and permits
Codes exist to protect health, property, and the people who occupy a building. Permit procedures vary by jurisdiction and by the size of the work, so the local building department is the final authority. A project can be technically sound and still require changes if it does not meet adopted standards. Keep approvals, plans, and inspection records together.
When permits are typically required
Permits are commonly required for new supply or drainage lines, major replacements, additions, remodeling that relocates fixtures, sewer connections, and work involving structural access. Minor maintenance may be treated differently. Before work begins, ask whether the homeowner, contractor, or both must apply and whether separate permits are needed for related trades.
Local building codes and inspection standards
The governing code may specify pipe materials, sizing, supports, vent routes, cleanouts, fixture clearances, and testing procedures. Inspectors often need to see rough plumbing before insulation, drywall, or other finishes conceal it. Local amendments can be just as significant as the model code, so generic online advice should never replace jurisdiction-specific confirmation.
Backflow prevention and safe drinking water practices
Backflow protection prevents contaminated water from reversing into a potable supply. Devices may be required at hose connections, irrigation systems, commercial equipment, or other cross-connection points. Keep potable-water piping separated from contamination sources, use approved components, and avoid improvised connections that make future cross-connections possible.
Accessibility and efficiency requirements
Fixture height, clear floor space, grab-bar support, control placement, and approach routes may be governed by accessibility rules in certain buildings. Efficiency requirements can affect toilets, faucets, showerheads, water heaters, and other equipment. Address these details during design, because correcting them after tile, cabinets, or walls are installed can be costly.
Plumbing installation costs
There is no useful single price for plumbing installations without knowing the building, access conditions, materials, and scope. A short visible replacement may be straightforward, while a similar fixture in a slab-built home can require demolition and excavation. Ask for a written description of what is included rather than relying on a broad allowance.
Factors that influence installation pricing
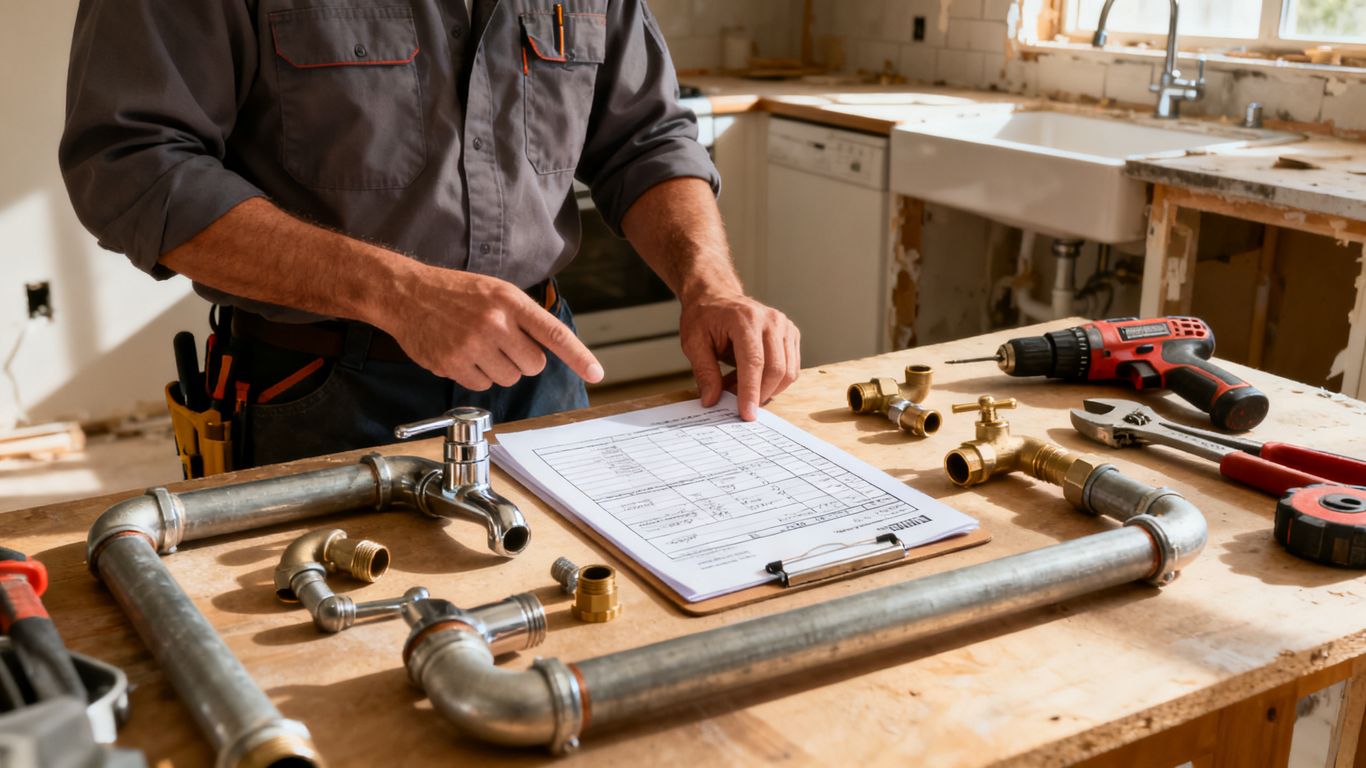
The largest pricing variables are the number of fixtures, pipe distance, access, site conditions, material selection, labor complexity, permit fees, and restoration work. Water heaters, pumps, filtration units, and specialty fixtures add equipment and connection costs. Access often drives cost because work inside finished walls or beneath concrete takes longer to expose and restore.
Material, labor, and excavation expenses
Materials include pipe, fittings, valves, supports, fixtures, insulation, equipment, and protective components. Labor covers layout, demolition, rough-in, connections, testing, cleanup, and coordination. Excavation adds hauling, shoring, surface removal, backfill, and possible landscaping or concrete repair, so buried work should be priced as its own part of the project.
Estimating costs for new and replacement plumbing
New construction estimates can be based on plans and fixture schedules, though site conditions may still change the final amount. Replacement estimates should distinguish visible work from allowances for concealed damage or outdated lines. For perspective on inspection-led decisions between repair and installation, review this plumbing service resource, while remembering that every property requires its own assessment.
How to compare contractor quotes
A fair comparison lines up scope, materials, permit handling, restoration, testing, schedule, payment stages, and warranty terms. The lowest number may omit demolition, access repairs, or code-required components. Use a simple comparison table before choosing:
| Quote item | What to confirm | Why it matters |
|---|---|---|
| Scope | Fixtures, pipe routes, and demolition | Prevents missing-work disputes |
| Materials | Brands, sizes, and connection methods | Affects durability and compatibility |
| Compliance | Permits, inspections, and testing | Establishes a lawful, verifiable installation |
| Restoration | Drywall, flooring, concrete, or landscaping | Shows the real finished cost |
After reviewing the table, ask each contractor to explain exclusions and allowances in plain language. Quotes become much easier to compare when they describe the same finished result.
The plumbing installation process
Most projects move from planning to rough-in, fixture connection, testing, inspection, and closeout. The exact order can shift when several trades share the site, but the system should not be concealed before required checks are complete. Good communication matters at every transition. Take photos of concealed piping and keep product information for future maintenance.
Preparing the site and removing existing components
The crew should protect finished surfaces, identify shutoffs, isolate water, and confirm disposal arrangements before removing existing components. Older installations may contain unexpected materials, inaccessible connections, or damage behind walls. A controlled opening strategy limits disruption and gives the team a chance to revise the plan before new piping is committed.
Installing supply and drainage piping
Supply piping is routed and supported according to the plan, with attention to pressure, temperature, expansion, and protection from fasteners. Drainage piping must maintain its required slope and connect to properly vented branches. During rough-in, pipe ends are capped or protected, penetrations are sealed as required, and access points remain identifiable.
Connecting fixtures and major equipment
Once finishes and supports are ready, fixtures are set, traps and supply connectors are installed, and equipment is connected according to its instructions and local rules. Water heaters and pumps need the correct relief, discharge, drain, and electrical or fuel coordination. Connections should be accessible enough for routine service without dismantling unrelated work.
Pressure testing and checking for leaks
Testing should cover the portions required by the local authority and the project specifications. Inspectors or installers may check supply pressure, drainage flow, vent performance, equipment connections, and visible joints. Run fixtures, fill and drain multiple times, and inspect cabinets, ceilings, crawl spaces, and mechanical areas for moisture.
A video can help a homeowner visualize the sequence, but it cannot replace a site-specific test or inspection. Keep testing records and correct even small seepage before trim and access panels are finalized.
Completing inspections and final adjustments
After approved inspections, the crew can close walls and complete trim, labeling, insulation, and cleanup. Final adjustments may include balancing pressure, securing loose piping, setting temperatures, checking fixture operation, and confirming that shutoffs and cleanouts are reachable. A closeout packet with photos, manuals, permits, and warranty information is worth requesting.
Choosing a plumbing installation professional
The right professional brings more than tools to the job. They should be able to interpret plans, explain constraints, coordinate with other trades, and leave behind work that can be inspected and maintained. References are useful, but the written scope and communication process deserve equal attention. Choose a contractor who is comfortable discussing risks before work begins.
Verifying licenses, insurance, and qualifications
Confirm the contractor’s license status with the relevant authority and ask for proof of general liability and workers’ compensation coverage where applicable. Check who will perform the work and who is responsible for permits and inspections. Qualifications should match the project, particularly when it involves commercial systems, excavation, gas, backflow protection, or specialized equipment.
Reviewing experience with similar projects
Ask for examples involving the same building type, pipe access, fixture count, and equipment. A contractor experienced with a simple fixture replacement may not be the best fit for a whole-house repipe or commercial renovation. Discuss how the team handles concealed conditions, change orders, occupied spaces, and protection of finished areas.
Evaluating warranties and service agreements
Read what the workmanship warranty covers, how long it lasts, and who handles a callback. Manufacturer warranties may apply separately to fixtures or equipment, while labor coverage can have different terms. Service agreements should state response expectations, exclusions, maintenance tasks, and renewal conditions rather than promising vague long-term protection.
Avoiding common contractor and installation mistakes
Be cautious when a quote is vague, payment is heavily front-loaded, permits are dismissed, or the contractor refuses to explain materials. Other warning signs include no written change-order process, poor site protection, inaccessible shutoffs, and pressure to conceal work before inspection. A clear contract and steady documentation prevent many disagreements.
Get Your Plumbing Project Started
If you are planning work in Peoria or the surrounding areas, schedule service with Novy Plumbing to discuss the project and its next steps.
Conclusion
Well-designed plumbing installations depend on thoughtful planning, code-compliant materials, careful coordination, and thorough testing. Whether the project is a replacement or new construction, a clear scope and qualified professional can reduce surprises and leave you with a system that performs reliably and can be maintained for years.
Frequently Asked Questions
How long does a plumbing installation take?
Timing depends on the number of fixtures, pipe access, permitting, excavation, inspections, and restoration. A small replacement may take part of a day, while a whole-building installation can extend over several construction phases.
Should plumbing be installed before electrical work?
Plumbing and electrical work are usually coordinated rather than assigned a universal order. The trades need an agreed layout so pipes, wiring, framing, and equipment clearances do not conflict.
What is a plumbing rough-in?
A rough-in is the stage when supply, drainage, and vent piping is installed before walls and finishes are closed. Fixtures are generally connected later, after surfaces and supports are ready.
How can I tell whether a quote is complete?
A complete quote should identify labor, materials, permits, inspections, demolition, access work, restoration, testing, exclusions, and payment stages. Ask about allowances and change-order pricing before signing.
Do all plumbing projects require permits?
No. Permit rules vary by location and project scope, and minor maintenance may be exempt. New lines, relocated fixtures, major replacements, and work affecting building systems commonly require confirmation from the local authority.
What causes low water pressure after installation?
Possible causes include a partly closed valve, clogged filter, undersized piping, pressure-reducing equipment, supply restrictions, or problems with the local service. Measure pressure and have the system assessed rather than guessing at a replacement.
How often should plumbing systems be inspected?
There is no single schedule for every building. Inspect visible connections periodically, respond promptly to leaks or drainage changes, and arrange professional checks when the system is older, renovated, unusually complex, or showing recurring problems.