
Key Takeaways
Water heater problems often give you useful clues before they become expensive failures. A careful inspection can help you decide what is safe to check yourself and when to call a professional.
- Shut off power, gas, and water before investigating a serious problem.
- Leaks, gas odors, soot, and electrical damage call for prompt professional help.
- The right repair depends on whether the unit is tank, electric, gas, or tankless.
- Compare repair cost, unit age, efficiency, warranty, and part availability before replacing anything.
- Regular flushing, valve checks, and corrosion control can extend useful service life.
Recognize the most common water heater problems
A water heater rarely fails without leaving a clue. Changes in temperature, new sounds, dampness, odors, or unusual water color can all point toward a developing issue. Notice when the symptom occurs and whether it affects every faucet or only one fixture. That simple distinction can make diagnosis much faster.
No hot water or inconsistent temperatures
When every faucet runs cold, the cause may involve the energy supply, thermostat, heating element, burner, or control system. If hot water runs out quickly, the unit may be undersized, losing heat, or struggling with sediment buildup. A problem limited to one shower can instead involve that fixture’s mixing valve.
Check whether the issue began suddenly or worsened gradually. A sudden failure often points toward a tripped breaker, failed ignition, or control problem, while gradual changes may suggest scale, sediment, or declining components. The water temperature troubleshooting guide offers another useful way to organize these initial observations.
Leaks, pooling water, and pressure-related issues
Water around the heater should never be dismissed as harmless condensation. Look closely at the tank seams, drain valve, temperature and pressure relief valve, and threaded connections above the unit. A loose fitting may be repairable, but water emerging from the tank itself often signals internal corrosion and a replacement decision.
Pressure-related symptoms can include dripping from the relief valve, banging pipes, or water that appears unusually forceful. Do not plug or cap a relief valve to stop a drip. It is a safety device, and a qualified professional should determine why it is opening.
Strange noises, odors, or discolored water
Popping, rumbling, or crackling sounds commonly develop when sediment settles around a heating surface. Rust-colored water may come from corrosion in the tank, plumbing, or an anode rod. A sulfur-like odor can indicate a water-quality or anode-related problem, but any unusual smell deserves attention rather than repeated flushing alone.
Keep track of whether discoloration appears only in hot water or at every fixture. That comparison helps separate a water-heater issue from a broader plumbing problem. Do not taste or use water that looks contaminated until the source has been identified.
Pilot light, ignition, and power failures
Gas units may stop heating when a pilot will not remain lit, an igniter fails, or a safety control interrupts combustion. Electric units can lose heat after a breaker trips or a heating element or thermostat fails. Repeated resets are not a repair; they may conceal an electrical or combustion fault.
If a unit repeatedly shuts down, leave it off and arrange an inspection. Roto-Rooter is one example of a published water-heater service resource covering gas, electric, and tankless models, but the same safety principle applies regardless of the manufacturer.
Troubleshoot your water heater safely
Safe troubleshooting is limited troubleshooting. You can collect information, check obvious settings, and stop a small problem from becoming water damage, but the appliance may contain high voltage, flammable gas, hot water, and stored pressure. Never remove covers or defeat safety controls simply to keep the unit running.
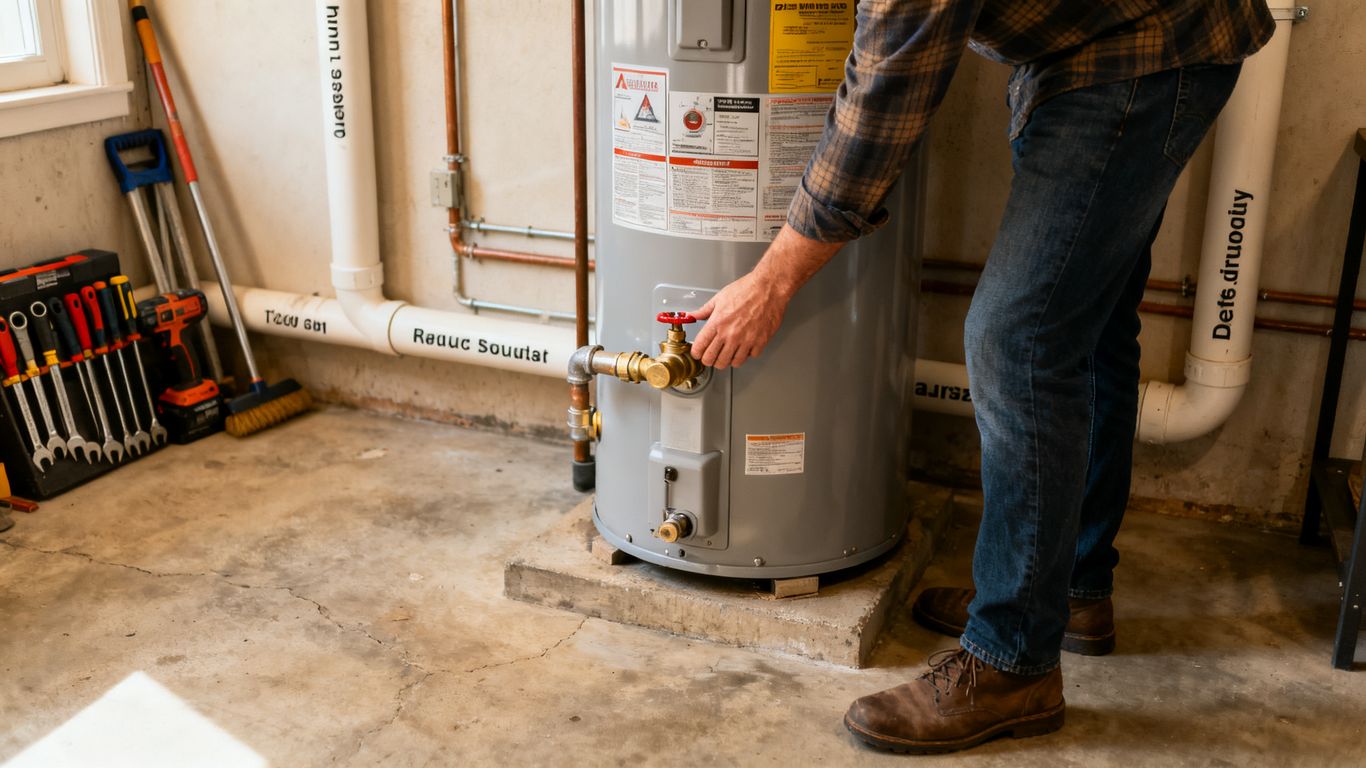
Before touching anything, tell everyone in the home what is being checked and keep children away from the utility area. If you are unsure which valve, breaker, or gas control applies, stop and call a qualified technician.
Shut off the energy supply and water
For an electric heater, turn off the dedicated circuit breaker before opening an access panel. For a gas heater, use the manufacturer’s instructions to turn the control to the appropriate off setting, and do not create a flame or spark nearby. Close the cold-water supply valve when a leak requires isolation, provided the valve operates normally.
The basic shutoff steps are worth reviewing before an emergency occurs. A smart water shutoff can also help monitor plumbing leaks and automatically stop water flow, but it does not replace turning off the heater’s energy source during a repair.
Check the thermostat and temperature settings
A thermostat set too low can produce lukewarm water, while a setting that is too high raises the risk of scalding. Check the setting without touching exposed wiring or internal components. If the temperature is inconsistent after a setting check, the thermostat, heating element, burner, or mixing valve may need professional testing.
Write down the setting and the time of day when the symptom appears. That information is more useful than repeatedly turning the control up and down. Never use a high setting as a quick fix for a heater that is not recovering normally.
Inspect visible connections and valves
Look for active dripping, corrosion, damp insulation, and water trails around the top and bottom connections. Confirm that a supply valve has not been partially closed, but do not force a stuck handle. A photograph of the connections, model label, and surrounding damage can help a technician arrive prepared.
Use this short inspection sequence only when the area is dry and safe:
- Check the floor and drain pan for fresh water.
- Look at the cold-water inlet and hot-water outlet connections.
- Observe the relief-valve discharge pipe without touching it.
- Record error codes or indicator-light patterns.
After these checks, leave the unit alone if water is near electrical components or if a valve appears damaged. A clear record is helpful, but continued testing can increase the damage.
Know which warning signs require immediate professional help
Some symptoms should end DIY troubleshooting immediately. Gas odor, visible soot, sparking, a rapidly growing leak, a bulging tank, or water near energized equipment can create a serious hazard. Move away from the area and contact the appropriate emergency or plumbing service rather than trying another reset.
A useful rule is simple: if the problem involves combustion, exposed electricity, or uncontrolled water, protect people before property. That approach may feel cautious, but it prevents a small appliance problem from becoming an injury or major loss.
Understand repairs for different water heater types
The same symptom can have very different causes across water heater designs. Tank units store and heat a reservoir, while tankless systems heat water as it flows. Gas and electric models also require different diagnostic methods, tools, and safety precautions.
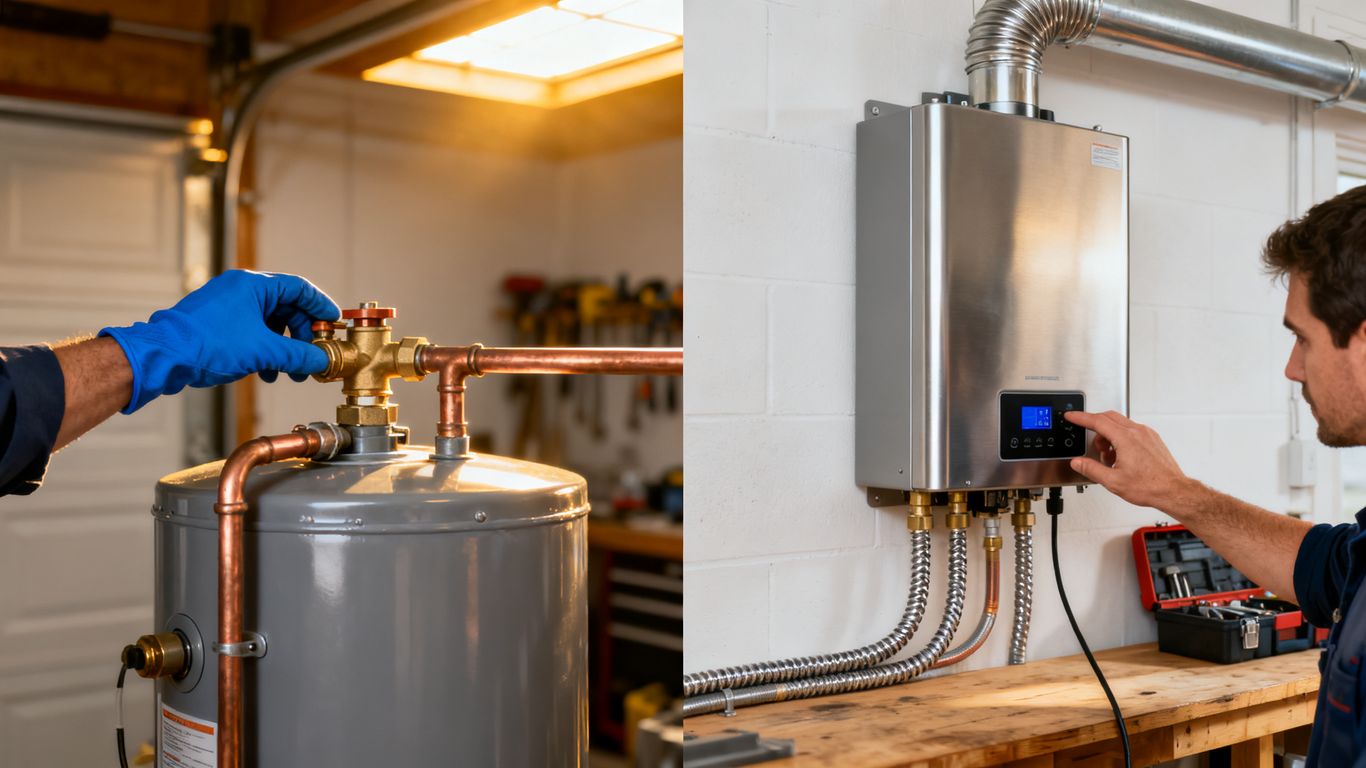
Identify the fuel type, model, approximate age, and visible symptom before requesting service. The label often contains information about capacity, voltage, gas input, and compatible replacement parts.
Fixes for traditional tank water heaters
Tank repairs may involve a drain valve, relief valve, thermostat, heating element, burner assembly, or anode rod. Sediment can reduce performance and contribute to noise, while corrosion at the tank itself usually cannot be reversed with a small component replacement. A technician should determine whether the leak is from a fitting or from the vessel.
Replacement parts must match the model and energy source. Installing an unsuitable element or control can create overheating, poor performance, or a safety problem. Do not assume that a universal-looking part is actually compatible.
Electric water heater components and failures
Electric units depend on circuit protection, thermostats, heating elements, and sound wiring. A tripped breaker may be a one-time event, but if it trips again, there may be a short, damaged element, loose connection, or overloaded circuit. Access panels should remain closed unless the power has been safely isolated and the person working on the unit is qualified.
Testing electrical components requires more than observing the thermostat setting. A professional can verify voltage, continuity, element condition, and wiring integrity. This is one repair category where guessing can be more dangerous than waiting.
Gas burner, pilot, and venting concerns
Gas water heaters need reliable ignition, clean combustion, and proper venting. A pilot that will not stay lit may reflect a thermocouple, gas-control, airflow, or combustion issue. Soot, scorch marks, unusual flame color, or exhaust entering the room are warning signs, not maintenance reminders.
Do not disassemble the burner or vent system without the training and instructions required for that equipment. If you smell gas, leave the area and follow local emergency guidance. The source of a combustion problem must be corrected before the heater is used again.
Tankless water heater flow and scale problems
Tankless heaters can lose flow or produce temperature swings when inlet filters clog, the system is scaled, or demand exceeds its operating capacity. Error codes can narrow the possibilities, but they do not always identify the failed component. A technician may need to measure flow, inspect sensors, and evaluate the water quality.
Descaling intervals depend on the equipment and incoming water conditions. Follow the manufacturer’s procedure rather than pouring an unapproved chemical into the system. Persistent problems after maintenance suggest that the issue is deeper than surface buildup.
Decide whether a repair is worth the cost
A repair decision is not based on the estimate alone. The unit’s age, condition, efficiency, warranty, and history all matter. A low-cost part may make sense for a sound heater, while the same repair may only postpone failure in a corroded tank.
Ask for enough information to compare realistic options. A written diagnosis should explain what failed, what is being replaced, and what risks remain if the work is declined.
Compare repair expenses with replacement costs
Compare the complete repair price with the installed cost of a properly sized replacement, not just the appliance price. Include permits, disposal, modifications, venting, electrical work, and labor where relevant. A repair that seems inexpensive can become less attractive if several related parts are already failing.
The following questions help keep the comparison practical:
| Decision factor | Repair may make sense when | Replacement deserves consideration when |
|---|---|---|
| Leak location | A fitting or valve is leaking | The tank body is leaking or corroded |
| Failure pattern | The issue is isolated | Breakdowns keep returning |
| Operating cost | Efficiency remains acceptable | Energy use has noticeably increased |
| Parts and warranty | Parts are available and covered | Parts are obsolete or coverage is unclear |
The table is a starting point, not a formula. A qualified estimate should explain which row best describes your unit and why.
Factor in the unit’s age and remaining service life
Age matters because every heater has a finite service life, and older units may have more corrosion or unavailable components. An otherwise healthy heater can justify a repair late in its life if the repair is modest and the tank is sound. A leaking or badly rusted vessel is a different decision regardless of age.
Find the model and serial information before the appointment. It helps the professional estimate remaining serviceability and check whether the correct parts are still made.
Consider energy efficiency and recurring breakdowns
A repair can restore hot water without fixing poor efficiency. If the heater runs longer, recovery is slower, or bills rise repeatedly, compare the cost of continued operation with a newer properly sized unit. Repeated service calls also have a practical cost: inconvenience, emergency premiums, and the possibility of secondary damage.
Do not replace solely because a newer model exists. Consider actual household demand, available space, fuel supply, and installation requirements. The best choice is the one that fits the home rather than the most elaborate option.
Evaluate warranty coverage and available parts
Check the original paperwork and look for the model, installation date, and warranty terms. Some coverage applies only to specific components or requires authorized installation. Labor, diagnosis, shipping, and related damage may be treated separately.
Ask the technician to state which part is covered and whether the repair carries its own labor warranty. If a part is backordered or discontinued, that fact should be included in the replacement discussion rather than discovered after the heater is opened.
Choose a qualified water heater repair professional
Choosing a technician is part of the repair itself. The right professional will explain the hazard, identify the failed component, and present options without rushing you into an expensive decision. Local requirements for licensing, permits, and gas or electrical work should guide your selection.
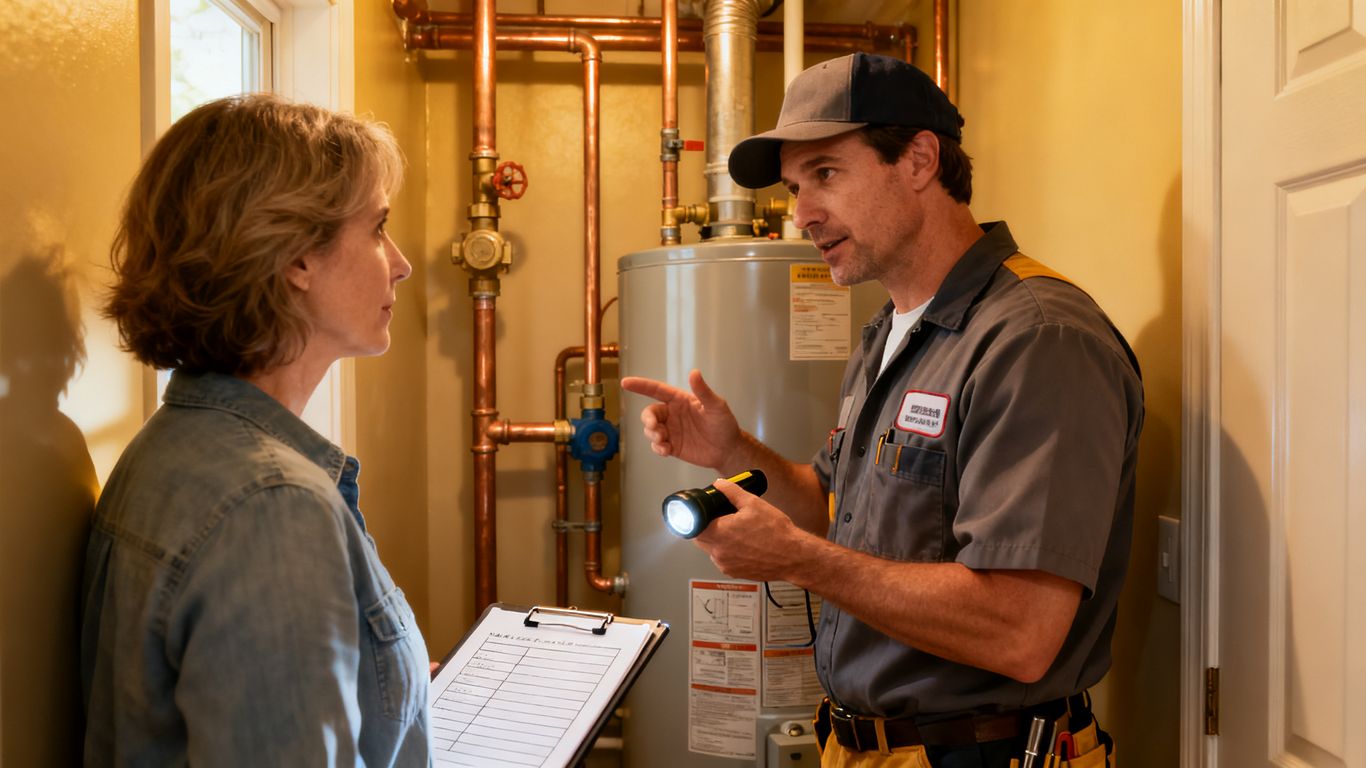
Before booking, gather the model number, symptom history, photographs, and any error codes. You can also schedule service when a problem is beyond safe household checks.
Verify licensing, insurance, and relevant experience
Ask whether the professional is licensed for the work being proposed and carries appropriate insurance. Gas connections, electrical repairs, venting, and replacements may involve different qualifications. Experience with your specific heater type is more useful than a vague claim of handling every appliance.
A qualified contractor checklist can help you think through registration, insurance, written pricing, and local code familiarity. Those checks are useful even for a small repair because the consequences of improper work can be serious.
Ask for a clear diagnosis and written estimate
A trustworthy estimate should identify the symptom, likely cause, proposed repair, parts, labor, taxes, and any additional work that may be required. Ask whether the price changes if the technician discovers corrosion or an incompatible part. You should also know whether the diagnostic fee applies to the repair.
Avoid approving work described only as “tuning up” or “fixing the system.” Specific language makes it easier to compare estimates and understand what result the repair is expected to deliver.
Compare labor rates, warranties, and response times
Price is only one comparison point. Ask when the technician can arrive, whether emergency pricing applies, how long the repair is expected to take, and what warranty covers the part and labor. A lower estimate may exclude disposal, permits, or follow-up work.
Keep the comparison focused on equivalent scopes. For a replacement, verify capacity, energy source, installation changes, and safety testing rather than comparing two numbers with different assumptions.
Watch for unnecessary repairs and high-pressure sales tactics
Be cautious if someone recommends replacement without inspecting the unit, refuses to explain the diagnosis, or insists that a safety device be bypassed. You can ask for a second opinion, especially when the proposed work is expensive or the evidence is unclear. A professional should be able to explain urgency without using fear as the sales method.
If an insurance claim is involved, keep the repair scope separate from coverage assumptions. Insurance claim disputes can arise when policy language, exclusions, or damage assessments differ, so preserve estimates, photographs, and communication records.
Prevent future water heater problems
Routine maintenance cannot prevent every failure, but it can reveal corrosion, sediment, and valve problems before they become emergencies. The right schedule depends on water quality, heater type, household demand, and the manufacturer’s instructions. If maintenance requires opening gas, electrical, or sealed components, use a qualified professional.
Small records help. Note the service date, symptoms, replaced parts, and next recommended inspection so a future technician can see the pattern.
Flush sediment from the tank on a regular schedule
Sediment can collect at the bottom of a tank and reduce heating efficiency or create popping sounds. Flushing involves hot water, a drain hose, and careful control of valves, so it should not be attempted if the drain is blocked or the connections are fragile. Follow the manufacturer’s instructions and let the water cool when necessary.
A flush may help with sediment, but it will not repair a tank that has already corroded through. If the drained water contains heavy rust or the valve will not close, stop and request service.
Test the temperature and pressure relief valve
The relief valve protects against dangerous pressure or temperature conditions. It should discharge through its designated pipe and should never be capped, blocked, or replaced with an unsuitable fitting. Testing an old valve can cause it to keep leaking, so have it inspected if it is corroded or difficult to operate.
If the valve opens repeatedly, investigate the cause instead of treating the discharge as a nuisance. Excess pressure, overheating, or a failing control may be involved.
Inspect the anode rod and corrosion protection
An anode rod is designed to corrode before the tank does, but it is a consumable component. Water chemistry and usage affect how quickly it wears away. Having it checked during service can provide an early indication of how well the tank is being protected.
Once the rod is depleted, replacing it may extend the useful life of a sound tank. It cannot restore a vessel that is already leaking through its walls.
Maintain safe temperature, clearance, and ventilation
Keep combustible items away from the heater and preserve the clearance required by the manufacturer. Gas units need unobstructed combustion air and safe venting, while electric units need appropriate electrical protection. Do not store boxes, paint, or chemicals in the immediate utility area.
Use a safe temperature that meets household needs without creating an avoidable scalding hazard. If children, older adults, or anyone with reduced mobility lives in the home, consider professional advice about temperature control and mixing protection.
Handle emergency water heater situations
An emergency is defined by risk, not inconvenience. No hot water can wait in some cases, but a burst tank, gas odor, sparking, or water near electrical equipment cannot. Protect people first, isolate the hazard only when it is safe, and call the appropriate professional or emergency service.
Write down what happened while details are fresh. That record can help with repairs, building management, and insurance.
Respond to an active leak or burst tank
If water is actively escaping, shut off the heater’s water supply if you can reach the valve without entering unsafe water. Turn off electricity at the breaker or follow gas shutoff guidance only when doing so is safe. Do not touch electrical switches or appliances standing in water.
Move people away, call for urgent plumbing help, and begin safe water removal only after the hazard is isolated. A burst tank generally requires replacement rather than a patch.
Act when you smell gas or see soot
Leave immediately if you smell gas, hear hissing, or see soot around a gas heater. Do not operate lights, phones, switches, or ignition sources inside the affected area. From a safe location, contact the gas utility or emergency services according to local guidance.
Do not relight the pilot until the source has been inspected and declared safe. Soot or scorch marks can indicate incomplete combustion or venting trouble, both of which require qualified attention.
Protect floors, walls, and nearby belongings
Once the immediate hazard is controlled, move valuables away from standing water and use towels, a wet vacuum, or other safe tools to limit spread. Open doors or use fans only when there is no gas, electrical, or contamination concern. Photograph the area before extensive cleanup when doing so is safe.
A shutoff device can reduce the duration of a leak, but it cannot prevent damage from every failure. Knowing the manual valve location remains essential, especially in a utility closet, basement, or slab-built home.
Document damage for insurance and repair records
Take wide and close photographs of the heater, valves, flooring, walls, belongings, model label, and visible water line. Save invoices, estimates, technician notes, and receipts for emergency work. Avoid discarding damaged components until an insurer or adjuster confirms that it is acceptable.
Describe facts rather than guessing at the cause. If a claim becomes complicated, a clear timeline and consistent records can make conversations with the insurer and repair professional easier.
Conclusion
Good water heater repair decisions start with recognizing the symptom, making the area safe, and getting a diagnosis that matches the actual failure. Check only what you can inspect safely, compare repair and replacement costs honestly, and keep up with basic maintenance so small warnings do not become major damage. When the risk involves gas, electricity, pressure, or uncontrolled water, contact a qualified professional such as Novy Plumbing rather than taking chances.
Frequently Asked Questions
How long does a water heater repair usually take?
A simple valve, thermostat, or heating-element repair may be completed in one visit if the part is available. Diagnosis, corrosion, access problems, or venting and electrical concerns can extend the work.
Should I repair or replace a leaking water heater?
If water is coming from a fitting or replaceable valve, repair may be reasonable. If the tank itself is leaking, replacement is usually the safer long-term option because internal corrosion cannot be reliably patched.
Why does my water heater make popping or rumbling sounds?
Sediment at the bottom of a tank can create those sounds as water heats around it. Flushing may help, but persistent noise, poor recovery, or a leak should be evaluated by a professional.
Is it safe to relight a water heater pilot myself?
Only follow the manufacturer’s instructions when there is no gas odor, soot, damage, or other warning sign and you are comfortable doing so. Never relight a unit that may have a gas or venting problem.
What temperature should a water heater be set to?
Use the manufacturer’s guidance and choose a setting that provides adequate hot water without creating an unnecessary scalding risk. Households with vulnerable occupants may benefit from professional temperature-control advice.
How often should a water heater be serviced?
Service frequency depends on the heater type, water quality, age, and manufacturer recommendations. Periodic inspection can identify sediment, corrosion, valve problems, and worn components before failure.
What should I do if my water heater is leaking overnight?
If it is safe, shut off the water supply and energy source, keep away from electrical hazards, and call for urgent help. Protect belongings and document the damage, but do not enter standing water near energized equipment.
Get Help With the Repair
When a water heater problem is beyond a safe visual check, contact Novy Plumbing for help assessing the situation and deciding on the next step. Have the model information, symptom history, and photographs ready so the conversation can begin with useful details.